If you’re searching dry van how to start, you’re probably asking one of three things: how dry van trucking works, how to get a dry van driving job, or how to launch your own dry van business. Those are different paths, and mixing them up is where a lot of beginners lose time and money.
This guide breaks it down in plain English. You’ll see what a dry van is, how dry van freight moves, what startup steps matter first, and where new owner-operators usually get tripped up on authority, insurance, and first-load prep.
What Dry Van Trucking Is and Why Beginners Consider It#
A dry van trailer is an enclosed box-style trailer used to haul freight that needs protection from weather but not refrigeration. It’s one of the most common trailer types in trucking, which is why many beginners look at it first.
A dry van keeps cargo covered and secure. Unlike a flatbed, the freight isn’t exposed to rain, road spray, or open-air tie-down issues. Unlike a reefer, a refrigerated trailer built to control temperature, a dry van doesn’t have a cooling unit to maintain.
Dry van basics#
Most dry van freight moves in a standard enclosed trailer pulled by a tractor. The tractor is the power unit that pulls the trailer. At a basic level, the job is simple: pick up freight at a shipper, deliver it to a receiver, and keep the load intact in between.
That simplicity helps dry van look beginner-friendly. But simple doesn’t mean automatic. You still need the right equipment, paperwork, load handling habits, and a clear understanding of whether you’re driving for a company or running under your own authority.
Common freight hauled#
Dry vans usually haul freight that’s boxed, palletized, wrapped, or packaged. Common examples include retail goods, paper products, packaged food that doesn’t need temperature control, household items, light manufacturing goods, and general consumer products.
Because the freight is enclosed, dry vans fit a wide range of everyday loads. That’s a big reason load boards and brokers often have steady dry van freight available.
Why it’s often a starter path#
Many new drivers consider dry van because the equipment is familiar, the freight base is broad, and the handling is usually less specialized than flatbed or reefer. You don’t normally deal with tarping like flatbed, and you don’t manage temperature settings like reefer.
Still, dry van isn’t a shortcut. Dock delays, shifting cargo, deadhead miles, rate swings, and insurance confusion can hit a new operator fast if the startup plan is sloppy.

Step 1 – Decide Whether You Are Starting a Business, a Trucking Authority, or a Driving Career#
When people search “dry van how to start,” they usually mean one of three things: get hired as a dry van driver, lease on to a carrier, or start a trucking business under their own authority. Knowing which one you mean is the first real decision, because each path has different risk, paperwork, and startup costs.
Owner-operator vs company driver#
If you want the simplest path into dry van work, a company driving job is usually the cleanest entry. The carrier handles authority, primary insurance, broker relationships, and much of the compliance structure. You focus on qualifying to drive and learning the freight.
If you want more control, you might lease on as an owner-operator or run your own authority. A true startup business means you’re not just driving. You’re also handling registration, compliance, insurance, freight sourcing, cash flow, and downtime.
MC and DOT basics#
A USDOT number is a federal identifier used to track a carrier’s safety and compliance activity. An MC number is operating authority that for-hire interstate carriers may need if they haul regulated freight across state lines. FMCSA explains these registration concepts at FMCSA.
A lot of beginners think trailer type decides this. It doesn’t. A dry van by itself doesn’t create authority needs. How you operate does: for-hire or private, interstate or intrastate, and what kind of freight you’re hauling.
Interstate vs intrastate#
Interstate means your operation crosses state lines or is part of interstate commerce. Intrastate means the movement stays within one state under that state’s rules. State DOT, DMV, and department of insurance rules can still matter even when federal rules apply.
That matters because some operators only need state-level registration, while others need federal authority and federal filings. Before you buy equipment or bind coverage, be clear on whether you’re building a business, getting authority, or just getting your first dry van seat.
Step 2 – Build Your Dry Van Startup Checklist#
A real dry van startup checklist should cover equipment, registrations, business records, and first-load readiness. Most delays for new operators don’t come from one big problem. They come from five small misses at once: wrong paperwork, incomplete setup, bad load prep, weak broker packet details, and confusion about personal versus commercial use.
Truck and trailer basics#
Start with the equipment plan. Are you buying or leasing a tractor? Are you pulling your own dry van trailer or someone else’s? Is the trailer the right size and condition for the freight you want to haul?
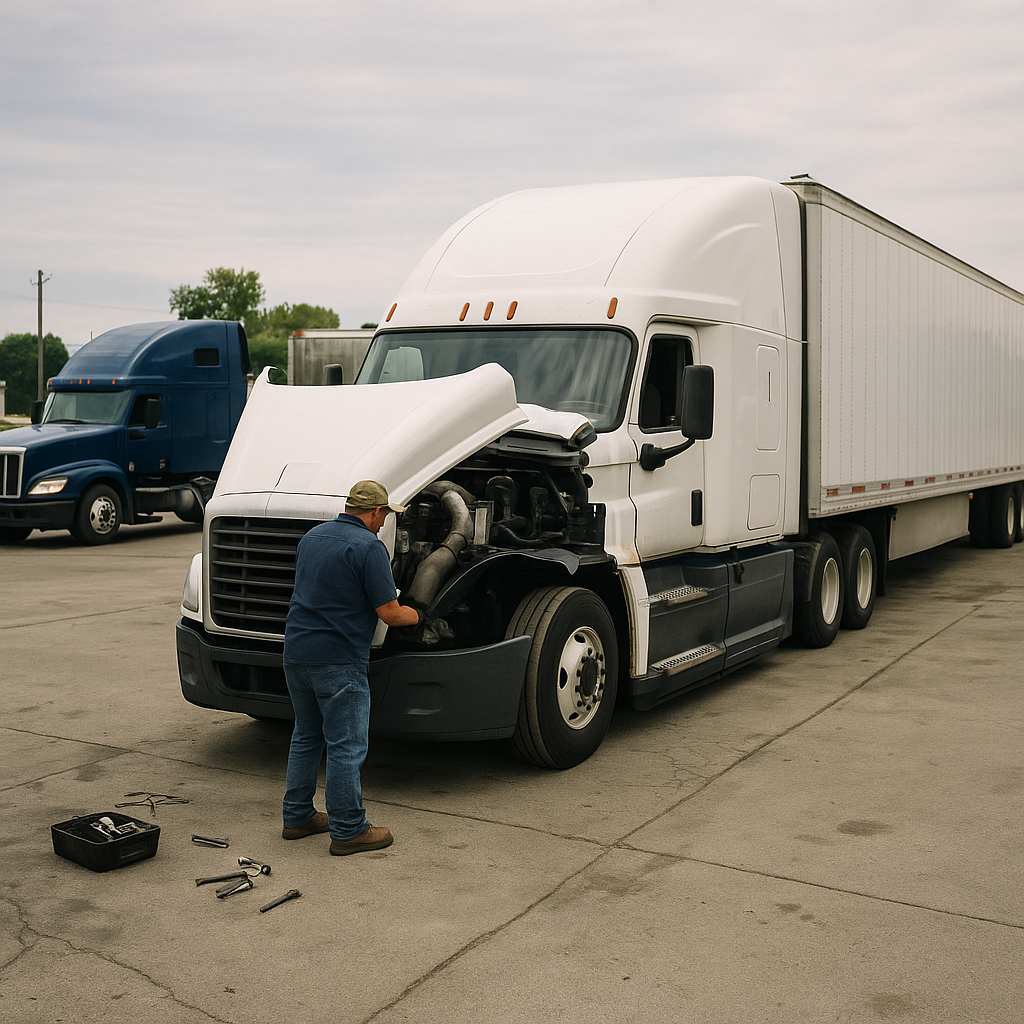
You also need to think about maintenance before the first load, not after the first breakdown. Tires, brakes, lights, doors, seals, suspension, and floor condition matter. A trailer with a weak floor or bad door seal can turn a normal load into a cargo claim.
Paperwork and registrations#
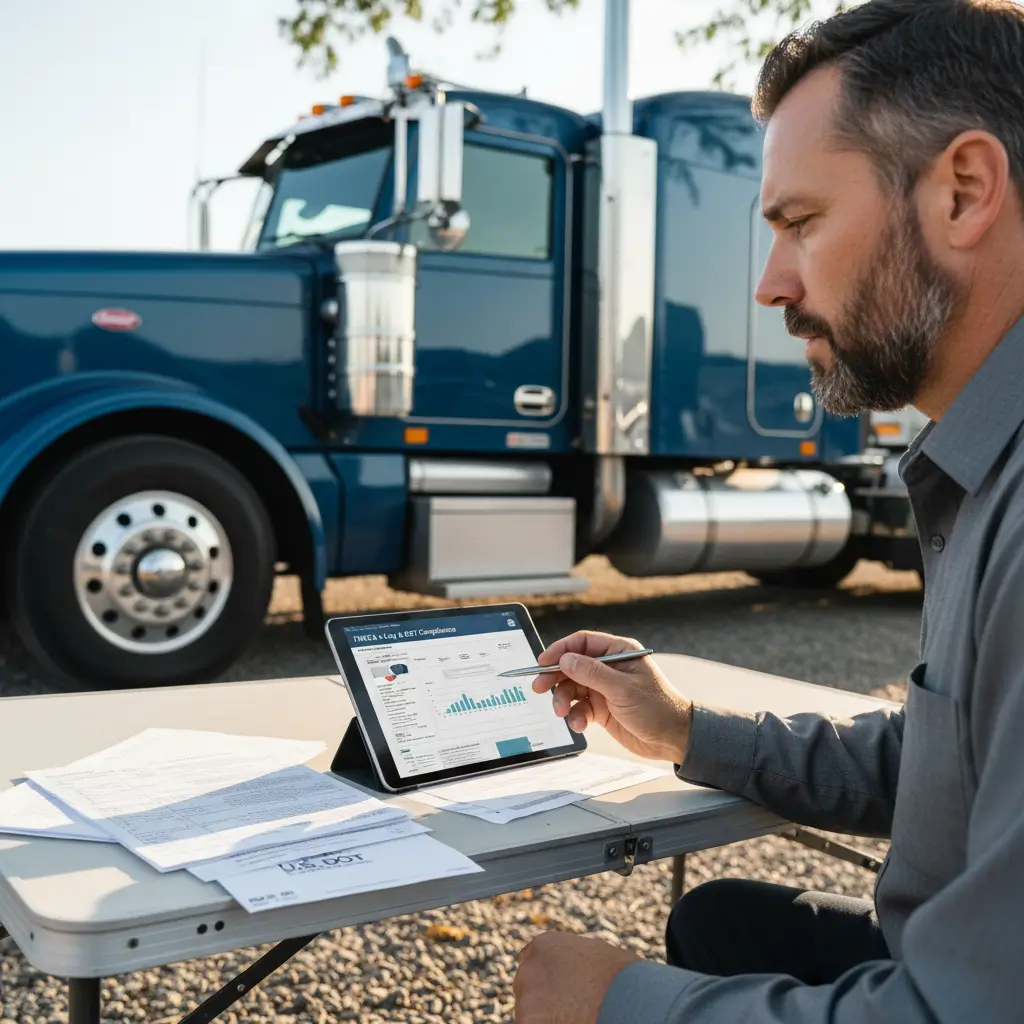
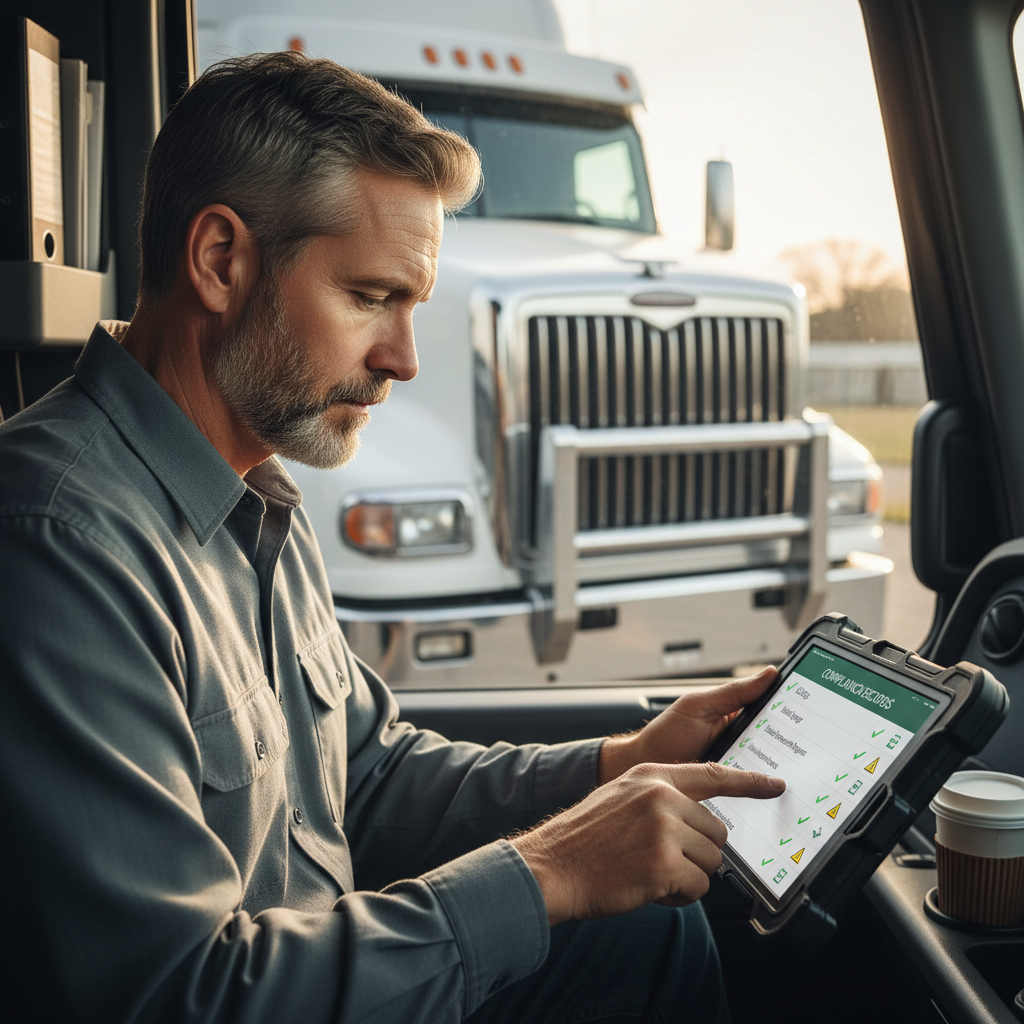
Your startup file should include business formation records if you’re opening a company, registrations, tax documents, vehicle information, and any carrier documents needed for your operating setup. Keep digital copies ready on your phone and backed up somewhere easy to reach from the cab.
This is also where beginners make a costly mistake: treating a truck like a personal vehicle because they haven’t hauled yet. If the operation is commercial, your setup needs to reflect commercial use from the start.
Broker and shipper setup#
Before your first load, you’ll likely need a carrier packet, W-9, certificate of insurance, and basic operating information. A broker is a middleman that connects shippers with carriers. A shipper is the business offering the freight.
Slow setup here can keep you parked even after the truck is ready. If your records don’t match, your insurance paperwork is incomplete, or your operating status isn’t active, the load can disappear.
If you’re not sure which insurance pieces fit your operation before you start sending broker packets, [](https://www.logrock.com/?utm_source=BLOG&utm_campaign=dry-van-how-to-start)
First-load readiness#
Before accepting that first run, make sure you can actually perform it. Know pickup and delivery times, trailer condition, securement needs, load weight, route restrictions, dock expectations, and payment terms.
A good first-load checklist should include:
- Tractor and trailer inspection completed
- Registration and business documents available
- Insurance documents ready
- Load details verified
- Dock and contact information confirmed
- Basic trip plan built
- Fuel and cash-flow plan in place
Step 3 – Understand Dry Van Equipment, Loading, and Unloading#
Dry van loading and unloading usually happens at a dock, with freight moved by forklift or pallet jack into an enclosed trailer. The basics sound easy, but most preventable problems come from poor weight placement, weak securement inside the trailer, or rushing the dock routine.
Trailer sizes and doors#
A dry van trailer usually has rear swing doors and an enclosed cargo box. Some operations also deal with logistics around borrowed or swapped trailers, which is where trailer interchange coverage can come up if there’s a signed interchange agreement.
The key parts to pay attention to are the floor, walls, roof, door seals, locking hardware, and any load securement points inside. Even if the freight is palletized, you still need the trailer itself to be dry, clean, and sound.
Safe loading basics#
Loading starts with confirming the freight matches the paperwork. Then the focus shifts to weight distribution. The load should sit in a way that keeps the trailer balanced and reduces shifting during braking, turning, and uneven roads.
Inside a dry van, securement may include straps, load bars, or other restraint methods depending on the freight. Moisture matters too. If the trailer has roof leaks, damaged seals, or a wet floor, cargo damage can happen before you ever leave the shipper.
Unload workflow#
At delivery, don’t just swing the doors open and hope for the best. Check whether freight shifted in transit, especially if the load is stacked, top-heavy, or loosely wrapped. Open carefully and communicate with dock staff before unloading starts.
A clean unload means fewer claims, fewer injuries, and fewer arguments about who caused damage. If something moved, got crushed, or arrived wet, document it right away.
When cargo needs extra protection#
Not every load belongs in a basic dry van setup. Some freight may need tighter securement, special handling, or a different trailer type altogether. If the load is temperature-sensitive, high-value, fragile, or unusually shaped, slow down and confirm the requirements before you book it.
Step 4 – Choose the Right Insurance and Compliance Basics#
Dry van operators need commercial trucking insurance that matches how the truck actually runs. Personal auto doesn’t replace commercial trucking coverage, and your state minimum doesn’t automatically satisfy federal requirements. Your insurance scope depends on whether you’re for-hire or private, interstate or intrastate, what the truck weighs, and what cargo you haul.
Commercial vs personal auto#
Commercial trucking insurance is insurance built for business vehicle operations, not personal errands. NAIC offers plain-language insurance definitions at NAIC. For a dry van operation, a personal auto policy usually isn’t built for hauling freight for pay.
That’s why new entrants need to understand commercial truck insurance as its own category. If you’re using a tractor in business, the coverage needs to match that business use.
Required liability basics#
Auto liability covers damage or injury you cause to other people and property in a covered crash. For interstate for-hire carriers, federal financial responsibility rules may apply under 49 CFR Part 387 at eCFR. For example, for-hire interstate carriers hauling general freight in vehicles over 10,001 lbs must carry at least $750,000 in public liability under 49 CFR Part 387.
That’s the part many beginners get wrong. It is not true that all truckers need the same liability limit. Requirements vary by carrier type, vehicle weight, cargo, and whether you operate interstate or intrastate. If you need a plain-English breakdown of auto liability coverage, start there.
Cargo and physical damage#
Motor truck cargo covers your legal responsibility for covered freight you’re hauling. Physical damage covers damage to your own truck, usually through collision and comprehensive-type causes. LogRock also writes fire and theft with combined additional coverage, and collision pairs with that broader physical damage structure rather than standing alone.
For dry van freight, motor truck cargo insurance matters because enclosed freight still gets damaged, wet, crushed, or stolen. Physical damage coverage matters because one accident or weather loss can park your operation.
Trailer coverage questions#
Trailer coverage depends on whose trailer is involved and under what agreement. If you own the trailer, that raises one set of physical damage questions. If you’re pulling someone else’s trailer, the right answer can be different.
New operators also mix up bobtail and non-business use. Bobtail insurance is often discussed loosely, but non-trucking type protection does not cover paid hauling. And if you’re not sure what coverage fits your operation, LogRock can help you scope it.
Step 5 – Find Freight, Avoid Bad Advice, and Start Operating#
Getting your first dry van load takes more than opening a load board and picking the highest rate. The safer approach is to build a repeatable routine: verify your setup, check the broker, understand the load, confirm the lane, and only then commit. That’s how you avoid a lot of beginner mistakes that start with bad urgency.
First-load strategy#
Your first load should be boring in the best possible way. Shorter miles, clear pickup times, straightforward freight, and normal dock conditions are better than chasing a complicated run just because the gross number looks bigger.
You want a load that lets you test your process. Can you check in cleanly, get loaded without confusion, deliver on time, and document the trip properly?
Broker setup and load boards#
A load board is a marketplace where brokers and shippers post available freight. Use it carefully. Verify who you’re working with, what the detention terms are, how payment works, and whether the load details actually make sense.
Brokers and shippers may also check your operating status through FMCSA SAFER. SAFER is the public system many industry players use to verify carrier information and status. If your records are inconsistent, that can slow down setup or kill trust fast.
Common dry van problems#
Dry van problems are usually operational, not glamorous. Common ones include deadhead miles, detention at docks, freight rate swings, damage claims, moisture exposure, and equipment downtime.
Those issues don’t mean dry van is a bad business. They mean the margin for sloppy habits is small. A missed pre-trip, weak dock communication, or rushed load check can cost more than the load paid.
When to ask for help#
If you’re getting conflicting answers from forums, stop and scope the question. Is it an authority issue, a state rule issue, a broker requirement, or an insurance question? Those are not the same thing.
The fastest way to waste money in trucking is to follow advice from somebody running a different operation. If your setup isn’t clear, [](https://www.logrock.com/?utm_source=BLOG&utm_campaign=dry-van-how-to-start)
Dry Van vs Other Entry Options: Which Path Fits You?#
Dry van is a practical starter path for many operators, but it’s not automatically the best one. The right choice depends on the freight you want, the equipment you can afford, and the kind of work you can handle every day.
Dry van vs flatbed#
Dry van is usually more protected and less physically demanding than flatbed. Flatbed often means open-deck loading, weather exposure, and more hands-on securement. Dry van usually means dock appointments, enclosed freight, and less exposure to the elements.
If you don’t want tarping, exposed loads, and heavier securement routines, dry van may fit better. If you prefer freight that’s less dock-driven and you’re comfortable with physical work, flatbed may appeal more.
Dry van vs reefer#
Reefer gives access to temperature-controlled freight, but it adds equipment complexity. You’re not just moving the load. You’re also managing a refrigeration unit, temperature requirements, and extra maintenance points.
Dry van is simpler if the freight doesn’t need cooling. Reefer can open different lanes and freight types, but it’s not the best beginner fit for everyone.
Box truck vs dry van#
A box truck is a self-contained straight truck with an enclosed cargo body. A dry van setup is a tractor pulling a separate enclosed trailer. That usually means different freight profiles, different scaling potential, and different compliance questions.
If you want to build into tractor-trailer freight, dry van may be the more direct path. If you’re looking at smaller local operations, a box truck may be a separate model worth comparing.
What to Do Before You Hit the Road for the First Time#
Before your first trip, the goal is simple: make sure you’re ready to operate safely, legally, and without avoidable surprises. Owning equipment isn’t the same thing as being ready to run freight.
Do one final review of the truck, trailer, load plan, and documents. Confirm your registration, insurance, contacts, route, pickup number, and delivery details are easy to reach. Make sure the trailer is clean, dry, and load-ready before you leave.
Then run your communication plan. Know who you’re calling if the dock is delayed, the load shifts, the truck throws a warning light, or a document is missing. New operators get into trouble when small problems happen and nobody has a clear next step.
Keep the first trip simple. Pre-trip the equipment, verify the paperwork, check the route, protect the freight, and leave enough time for dock delays.
FAQ#
How do I turn on a freightliner?
To turn on a Freightliner, start with the basics: make sure the truck is in neutral, set the parking brakes, and turn the ignition or use the start procedure for that specific model. Let the system power up, start the engine, and then watch the gauges and warning lights before moving.
After startup, confirm air pressure is building normally and check for any alerts that need attention. Don’t rush straight into gear. Let the truck stabilize, complete your pre-trip checks, and only then release brakes and move. Since switches and startup steps vary by model year and configuration, use the truck’s manual for model-specific instructions.
What are common problems with dry van trucking?
Common dry van problems include deadhead miles, detention at docks, cargo shifting, moisture damage, rate volatility, and trailer-related maintenance downtime. A lot of the work looks simple from the outside, but delays at shippers and receivers can eat up both time and profit fast.
Cargo claims are another big issue for new operators. Freight can get wet from bad door seals, crushed from poor weight distribution, or damaged because the trailer wasn’t clean or dry before loading. Dry van can be a solid business, but it rewards routine and attention to detail more than guesswork.
How to start a truck step by step?
To start a truck step by step, inspect it first, not last. Check the truck and trailer for obvious issues, confirm fluids and basic condition, make sure the transmission is in neutral, set the parking brakes, and start the engine using the proper procedure for that truck.
Once it’s running, watch the gauges, check warning lights, and let air pressure build if needed. Test lights, mirrors, and brakes as part of your pre-trip. Before you move, confirm your route, paperwork, and load details are in order. Starting the engine is only one part of getting a truck ready to roll safely.
How to load and unload a dry van?
To load a dry van, back square to the dock, confirm the freight matches the paperwork, and make sure the trailer is clean, dry, and structurally sound before loading begins. Place weight evenly, keep the load balanced, and use appropriate securement inside the trailer so freight doesn’t shift in transit.
For unloading, open the doors carefully in case the freight moved during the trip. Check for shifted pallets, broken wrap, or visible damage before the dock crew starts pulling freight out. Good loading and unloading habits reduce claims, speed up dock time, and help prevent injuries from falling or unstable cargo.